

Grow your own step by step guide. Pink Stem Radish
Step 1: Fill the tray with holes 3/4 full with soil, pat down the soil gently so the soil is flat and moisten thoroughly.
Step 2: Sprinkle the seeds thinly and evenly on to the top of the moistened soil, try not to have seeds on top of one another.
Step 3: We recommend seeds to sprout (germinate) in the dark so simply put the tray without holes over the top and put somewhere warm. Germination can be from 3-5 days depending on conditions. Keep soil moist (not soaking) at all times by misting it when needed.
Step 4: When seeds have started to sprout and are about 1-2cm tall, remove the lid and place this under the tray with the holes. Place in an area where it will have good light such as a windowsill, apply the clear dome, wait and watch.
Your micro Pink Stem Radish will be ready in about 9-15 days. Add water to the tray without holes every other day (not too much water just so the bottom of the tray is just covered). The soil will soak up the water and feed the root system. If it is very warm you may need to water every day and may not need the clear dome.
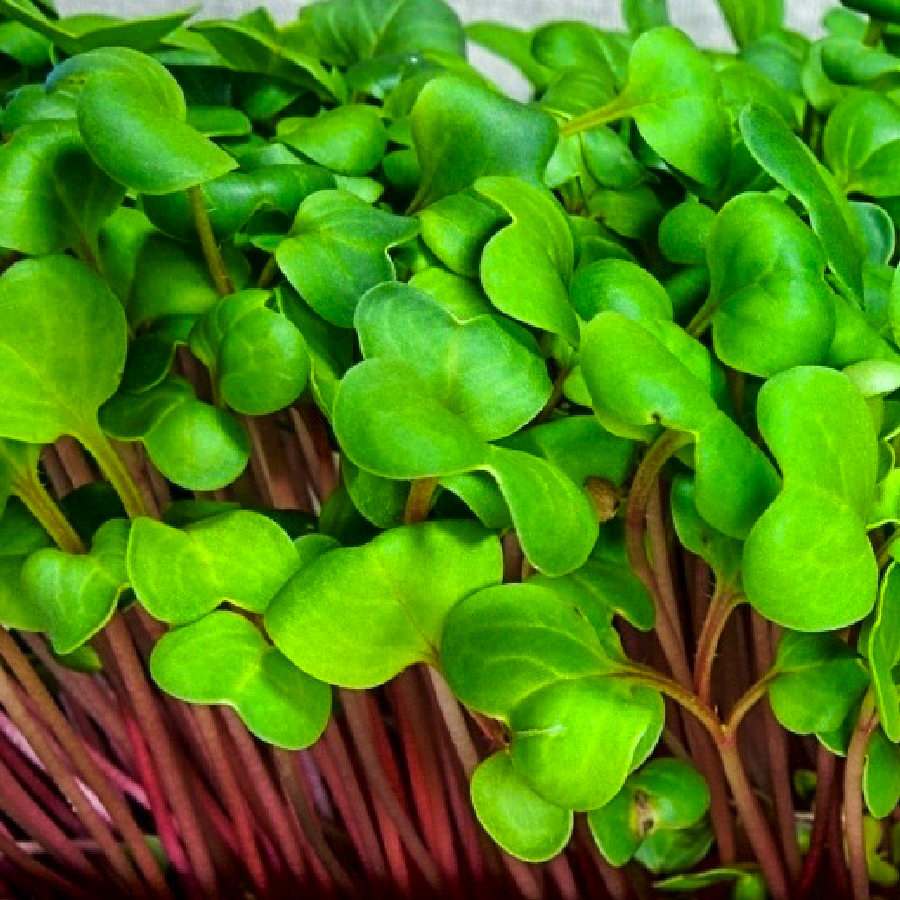
When your micro Pink Stem Radish are ready (5-7cm tall) simply snip with clean scissors, wash and add to your dish.
If you have any questions during the growing process, please let me know and I will answer best I can. sales@wildgreens.co.uk
Enjoy growing.
From Ben, Sarah, Jackson and Charlie at Wild Greens Farm.